Plant Leaf Tutorial
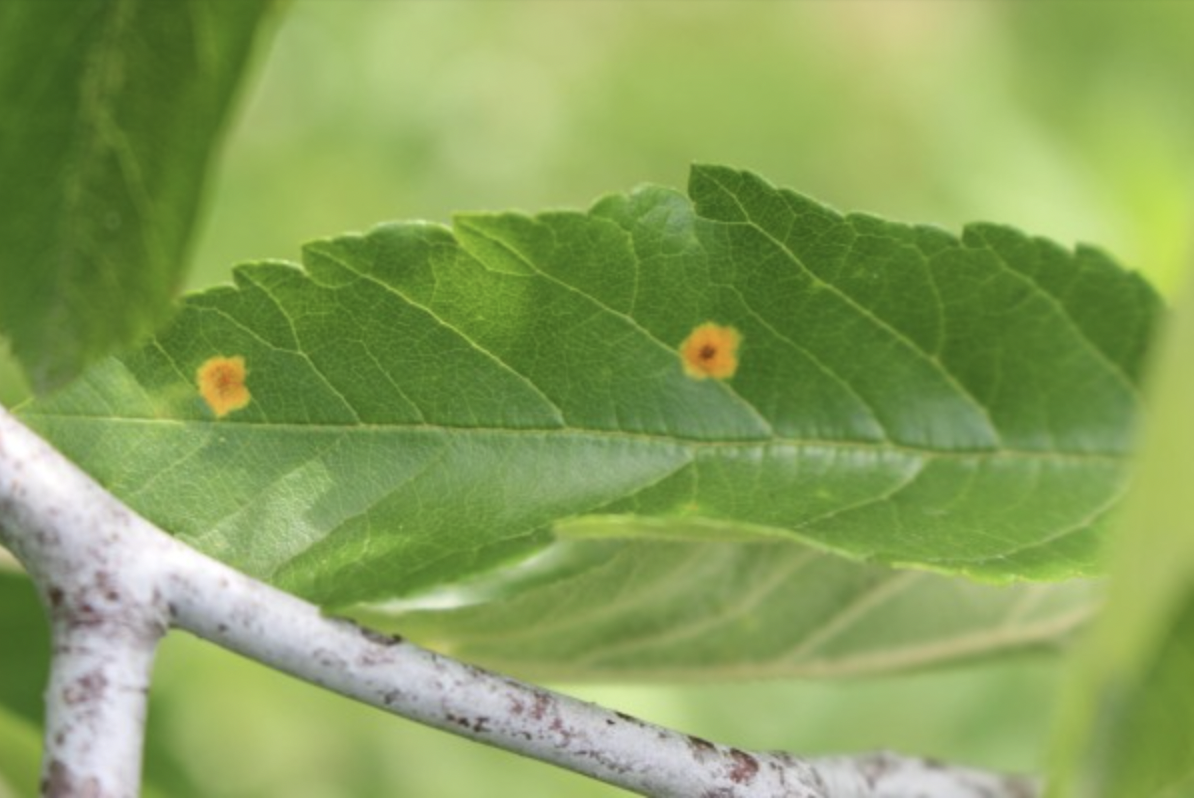
This tutorial shows how to train a neural network using Luminide. The example we will use is from the Kaggle Plant Pathology 2021 competition, in which the goal is to help farmers identify the category of foliar disease in apple trees. You can find out more about this competition by visiting the Kaggle website.
Training a model on Luminide consists of 4 parts: Compute, Code, Data, and Experiment.
Compute Server
The first step in training a model is to attach a Compute Server.
Menu: Luminide > Manage Compute Server
For this tutorial, an inexpensive option like gcp-t4 will be sufficient, and selecting Spot compute is usually a good choice since it costs significantly less.
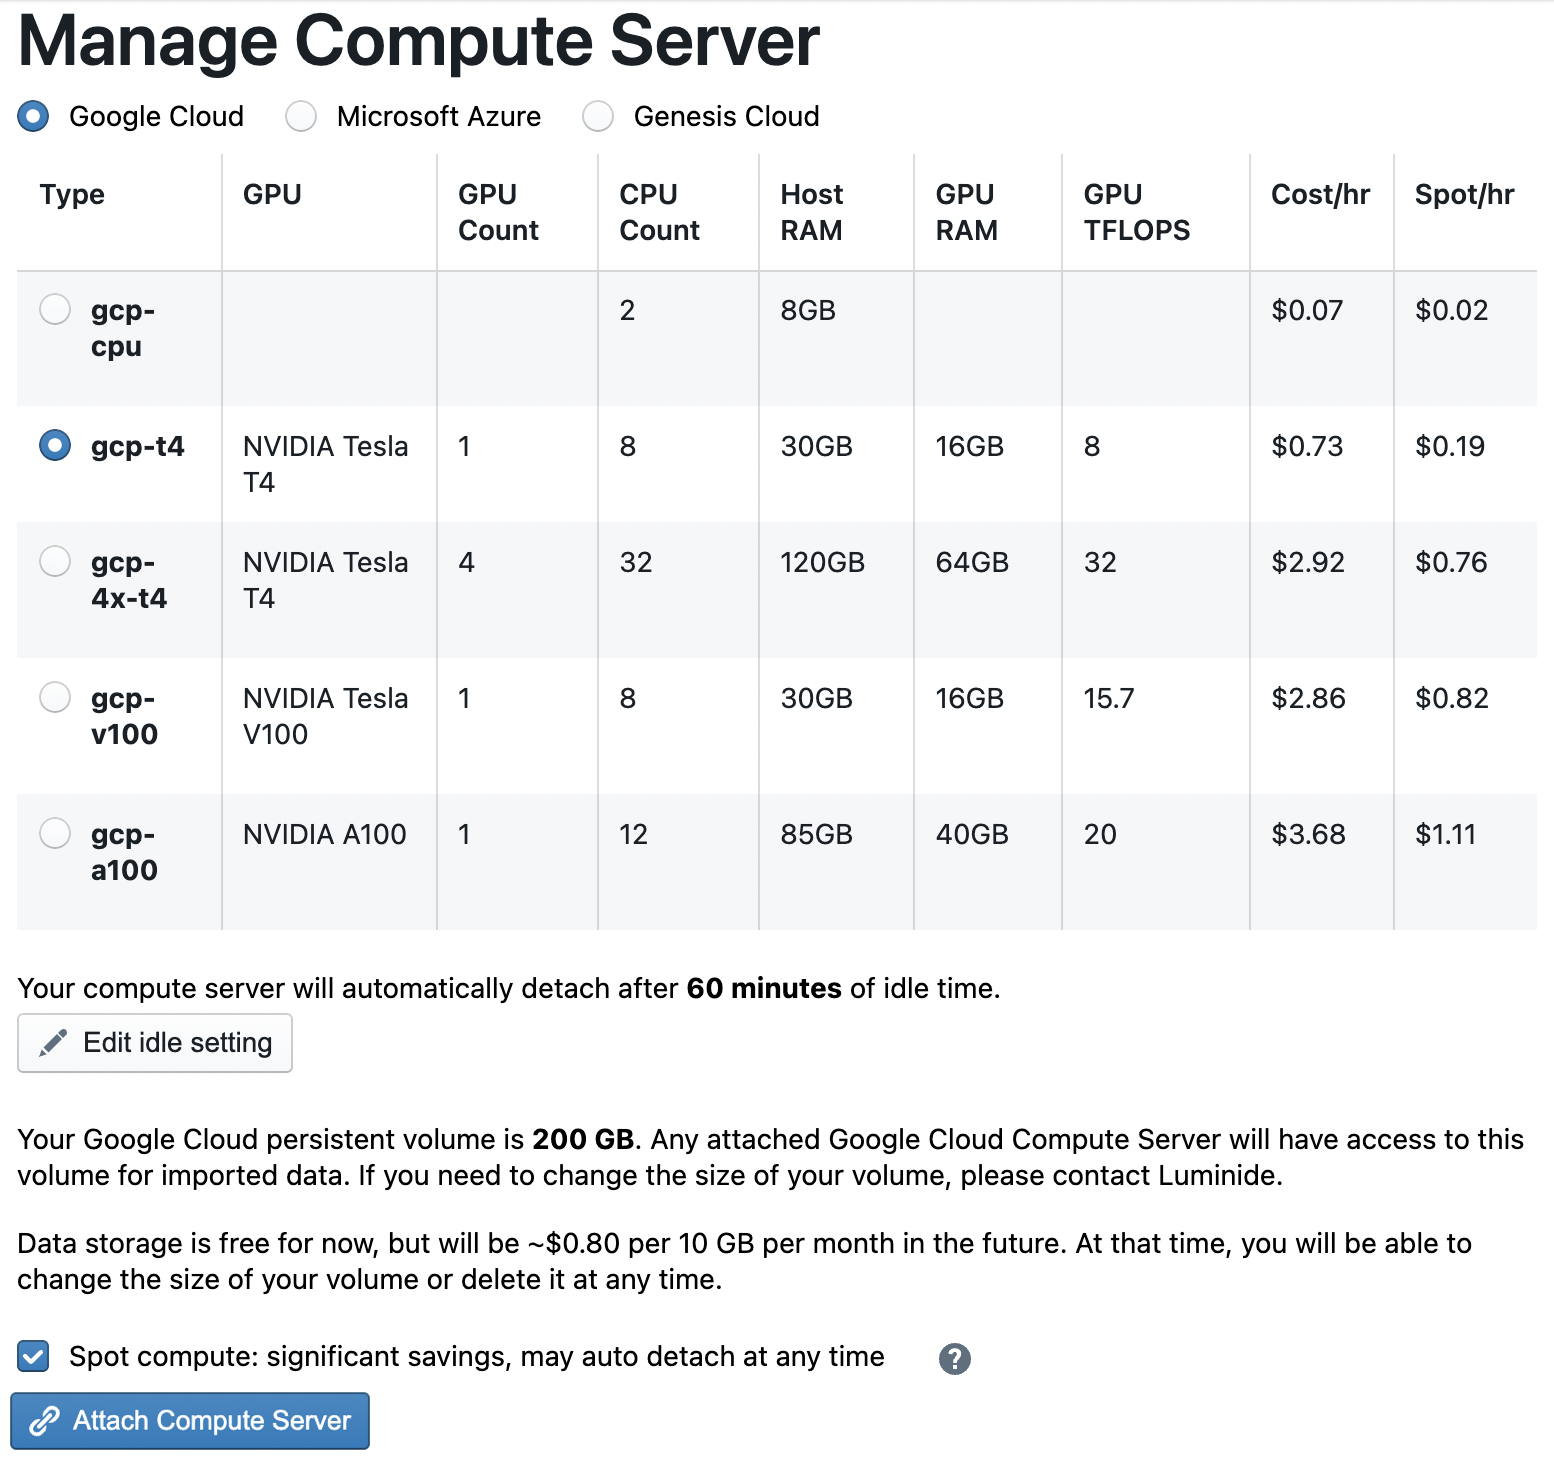
Note: The first time you select a Google compute server, you will need to select a volume size. For this tutorial, use the default 150GB.
Then click Attach Compute Server. This will connect with the CSP, provision a new server, and indicate once this process has completed by displaying a green checkmark (both in the Manage Compute Server tab as well as the bottom-left status bar):

Note: This could take several minutes depending on the Compute Server type.
For more information on managing compute, e.g. updating the idle setting or using spot compute, see Compute.
Code Templates
Luminide contains templates that generate some initial code to get started. This code is placed in the the code/ directory, and includes everything needed to run your experiment – the model, the hyperparameters, and the shell script to launch the experiment.
For this tutorial, generate code to do image classification by selecting:
Menu: Luminide > Code Templates
or choose Use Template when a new project is created:
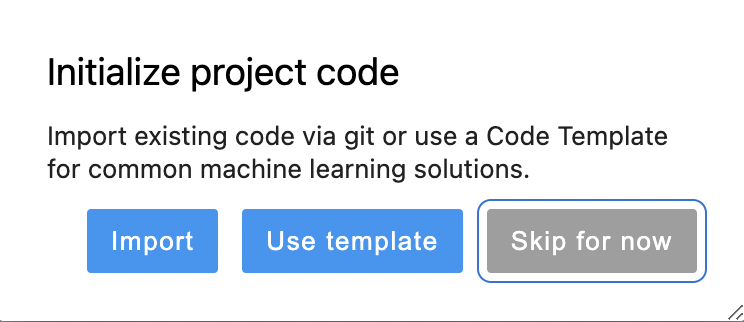
Then select the PyTorch Image Classification template.
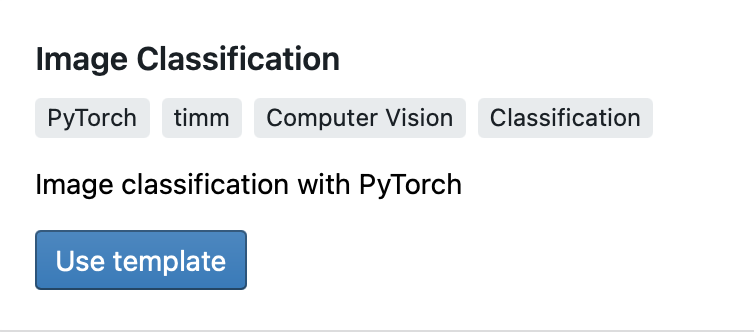
There are a number of parameters you can modify to generate code specific to your problem. For this tutorial, you can use the default parameters and click on Create Code.
The code is placed in the code directory on the IDE Server, and can be browsed using the Code File Browser in the left-hand sidebar.
For more information on managing code, e.g. how to import code from an existing repo, see Code.
Import Data
Lastly, import your data to the Compute Server, which is where the data will be consumed.
Menu: Luminide > Import Data to Compute Server
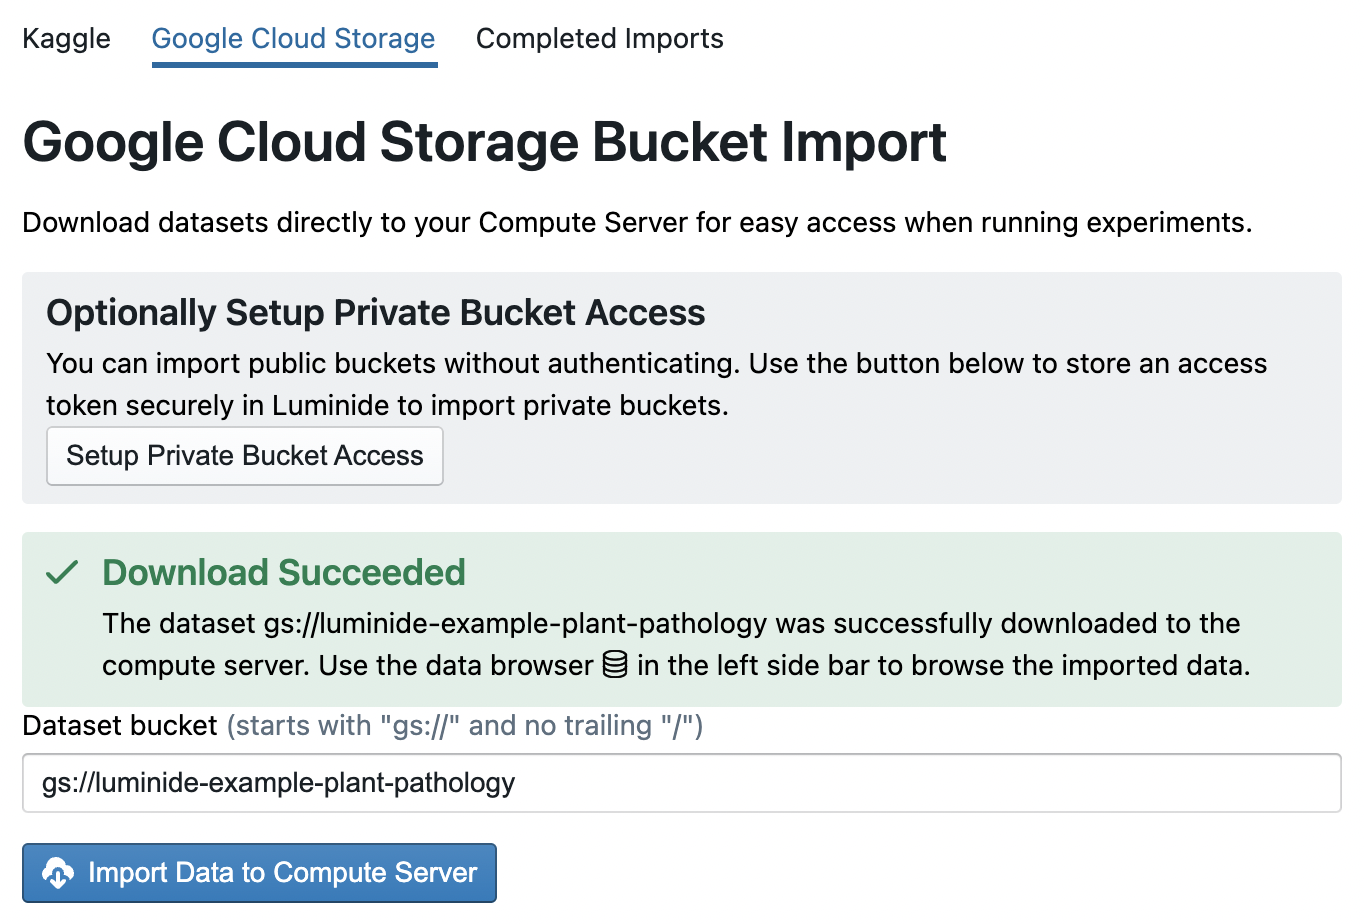
Navigate to the Google Cloud Storage tab, which is where the Plant Pathology dataset is, and copy/paste the following dataset bucket into the text box: gs://luminide-example-plant-pathology.
Then click the Import Data to Compute Server button and the data will start downloading. When it’s finished, you will get a “Download Succeeded” message.
The data can be browsed using the Data File Browser in the left-hand sidebar.
For more information on importing data, e.g. importing code from from Kaggle or analyzing your data with Jupyter notebooks, see Data.
Run Experiment
Now you’re ready to run an experiment. For this tutorial, we will train a model to completion. For other types of experiments, including hyperparameter tuning and running custom scripts, see Run Experiment.
Menu: Luminide > Run Experiment
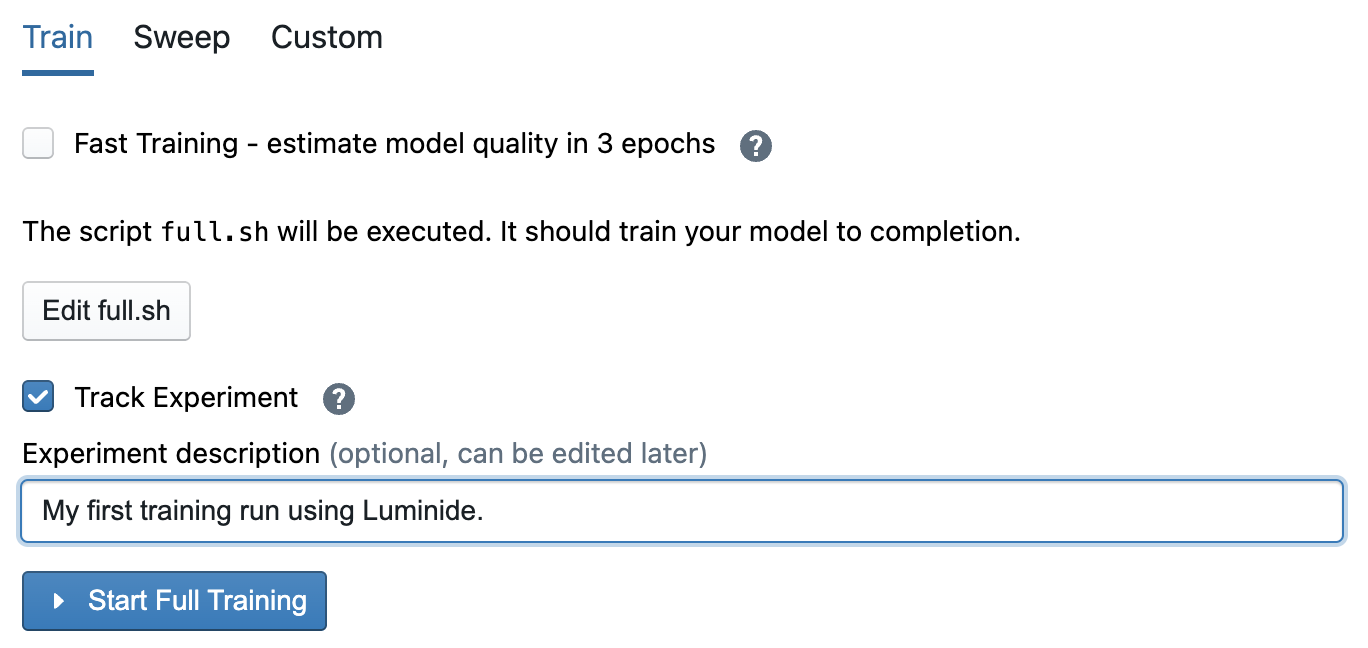
Training a model copies the shell script in code/full.sh to the Compute Server and executes it. Enter an optional experiment description and then click Start Full Training.
The output from executing the full.sh shell script on the Compute Server is displayed in an embedded terminal.
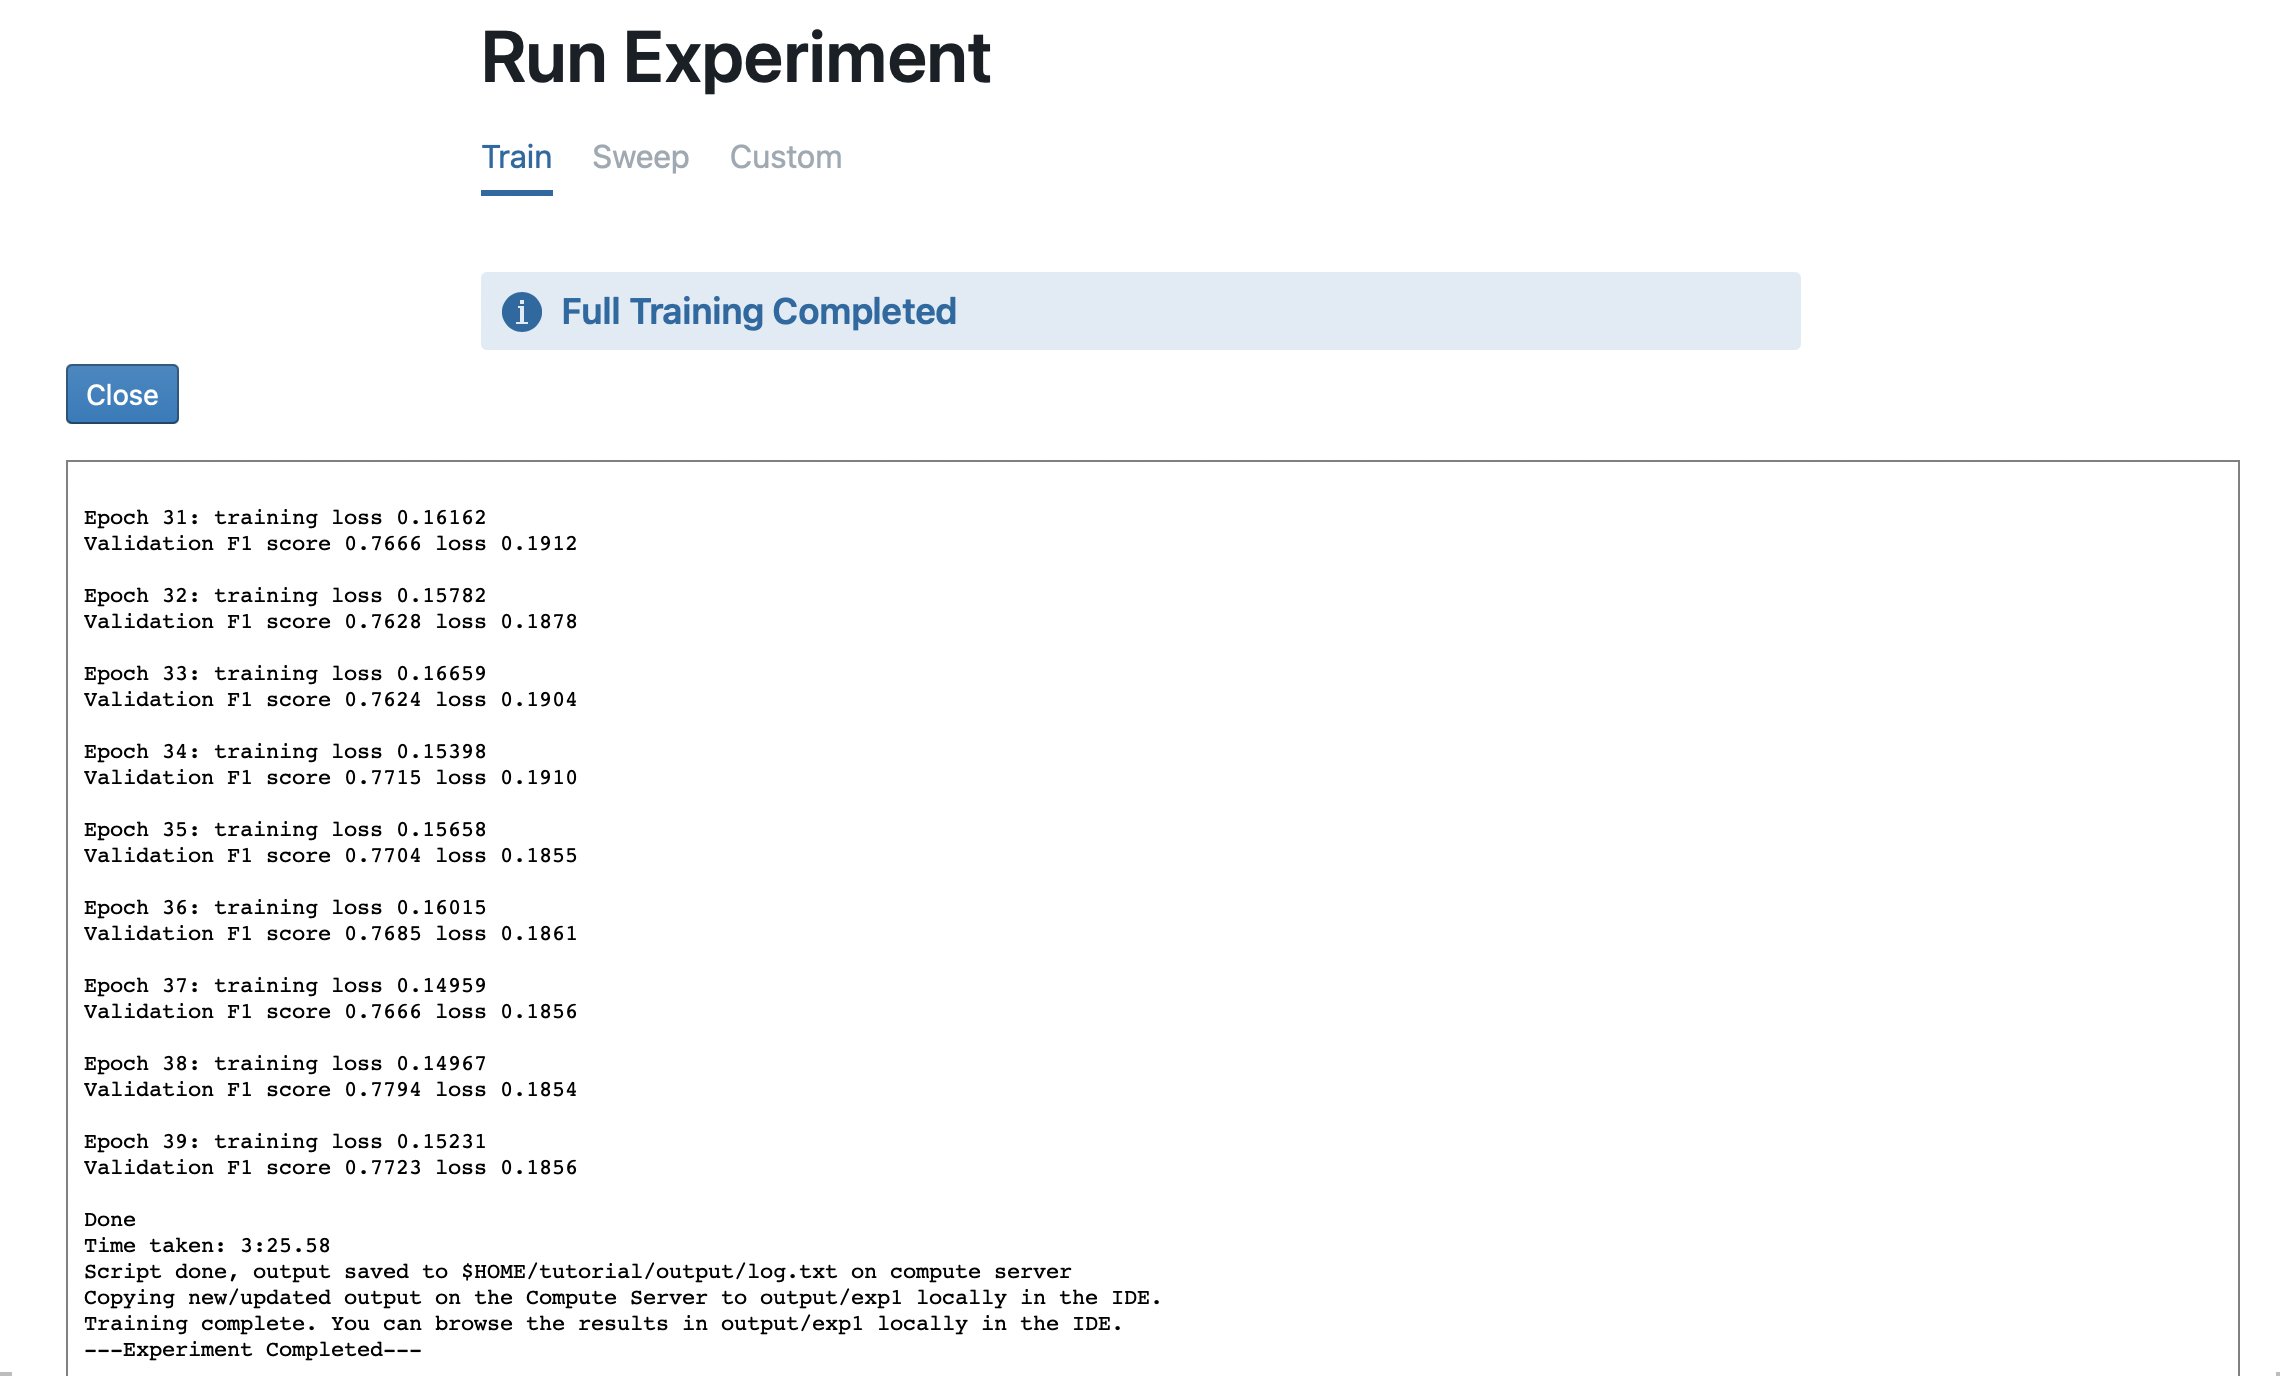
Once it’s done, you will see an Experiment Completed message. The experiment output is saved and can be accessed via the Code File Browser or with Experiment Tracking.
Congratulations! You’ve just trained your first neural-network using Luminide.