Overview
Luminide makes it easier to build better AI models:
Easier: Luminide contains all of the hardware and software you need, is hosted in the cloud, and automates the tedious, repetitive tasks.
Better AI models: Luminide contains tools like Hyperparameter Tuning and optimizations like Early Ranking. These help build higher accuracy models, get results faster, and even reduce training costs.
Luminide Architecture
Luminide’s distributed architecture consists of two main components, the IDE Server and the Compute Server.
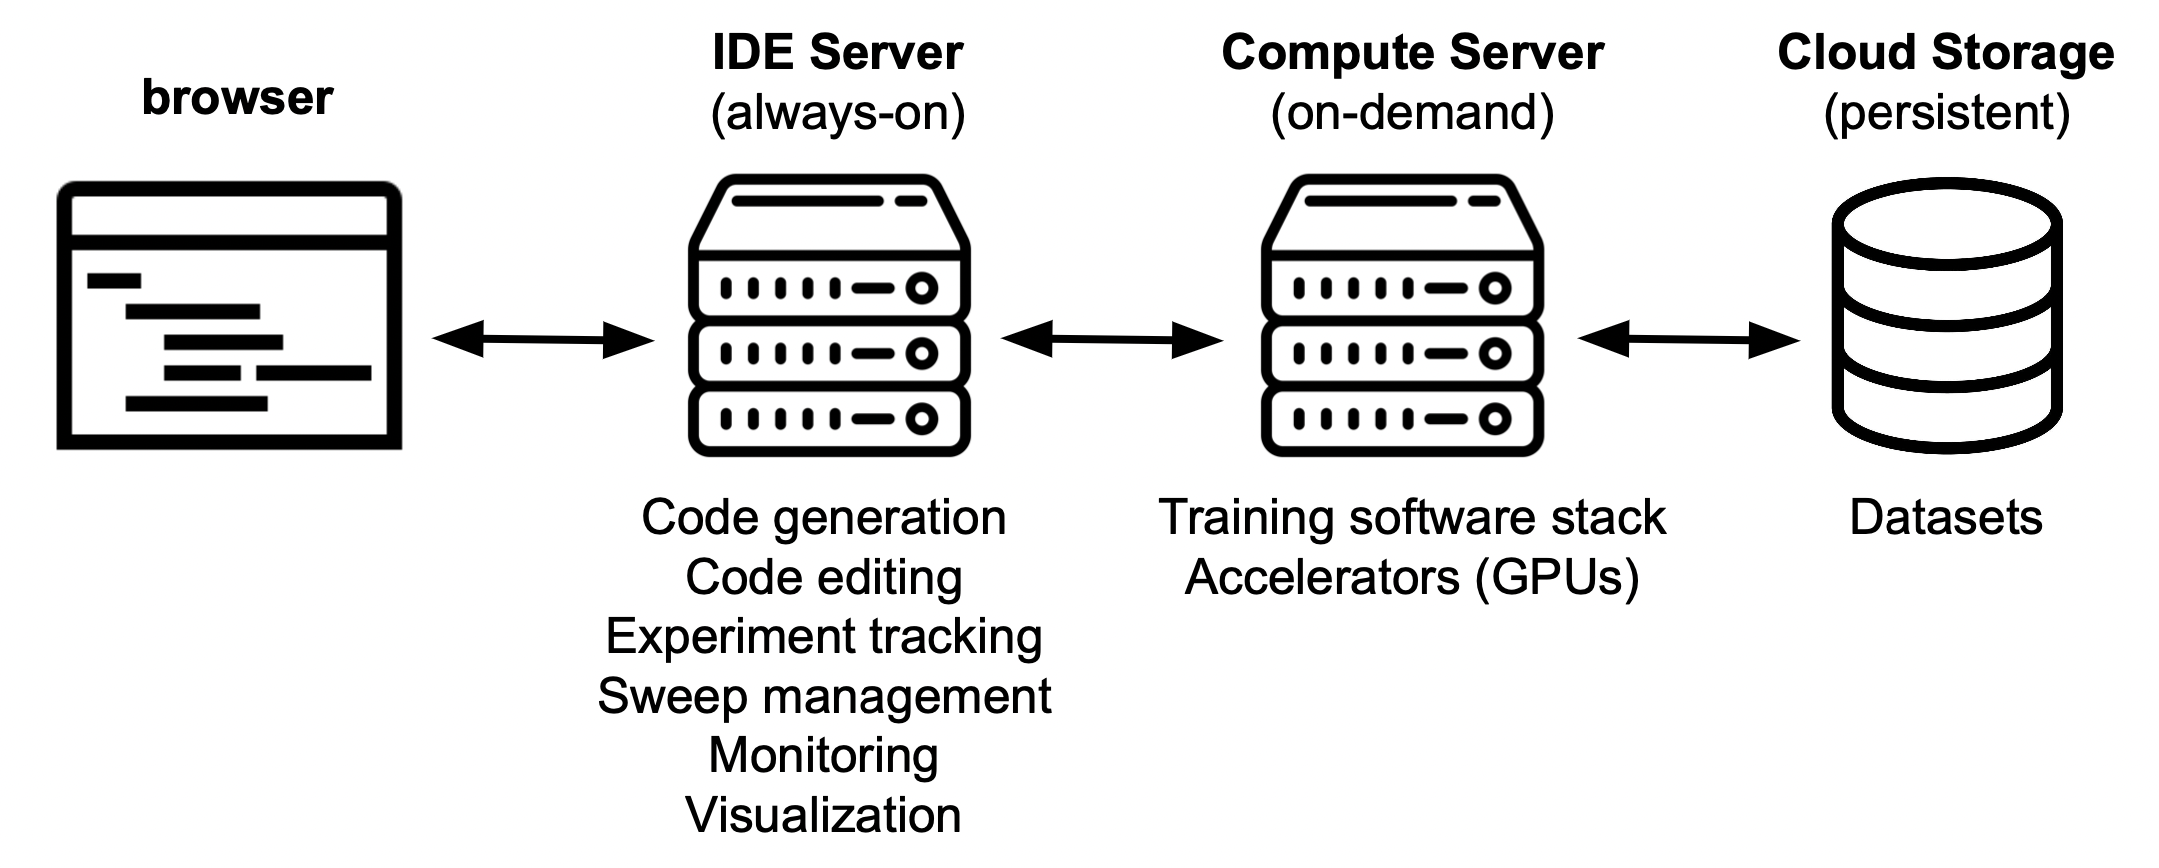
IDE Server: This is what controls everything, e.g., where you log in from your browser, download and edit your code, experiments are tracked/monitored/visualized, hyperparameter tuning is managed, and results are stored. This is also where commands that run on the Compute Server are launched.
Compute Server: This is where experiments are executed. Before each run, code from the IDE server is automatically copied over, and after each run the results are automatically copied back. Datasets are downloaded and stored on persistent Cloud Storage, which is co-located with the Compute Server for high performance.
Luminide IDE
The Luminide IDE is a customized version of the Jupyter IDE hosted in the cloud. It includes everything that makes the Jupyter IDE so popular among data scientists, e.g. notebooks, code editing, file browsers. But also includes everything you need for model development, e.g. connect to cloud GPUs, run and track experiments, hyperparameter tuning. And since it’s all fully integrated, everything is just a click away.
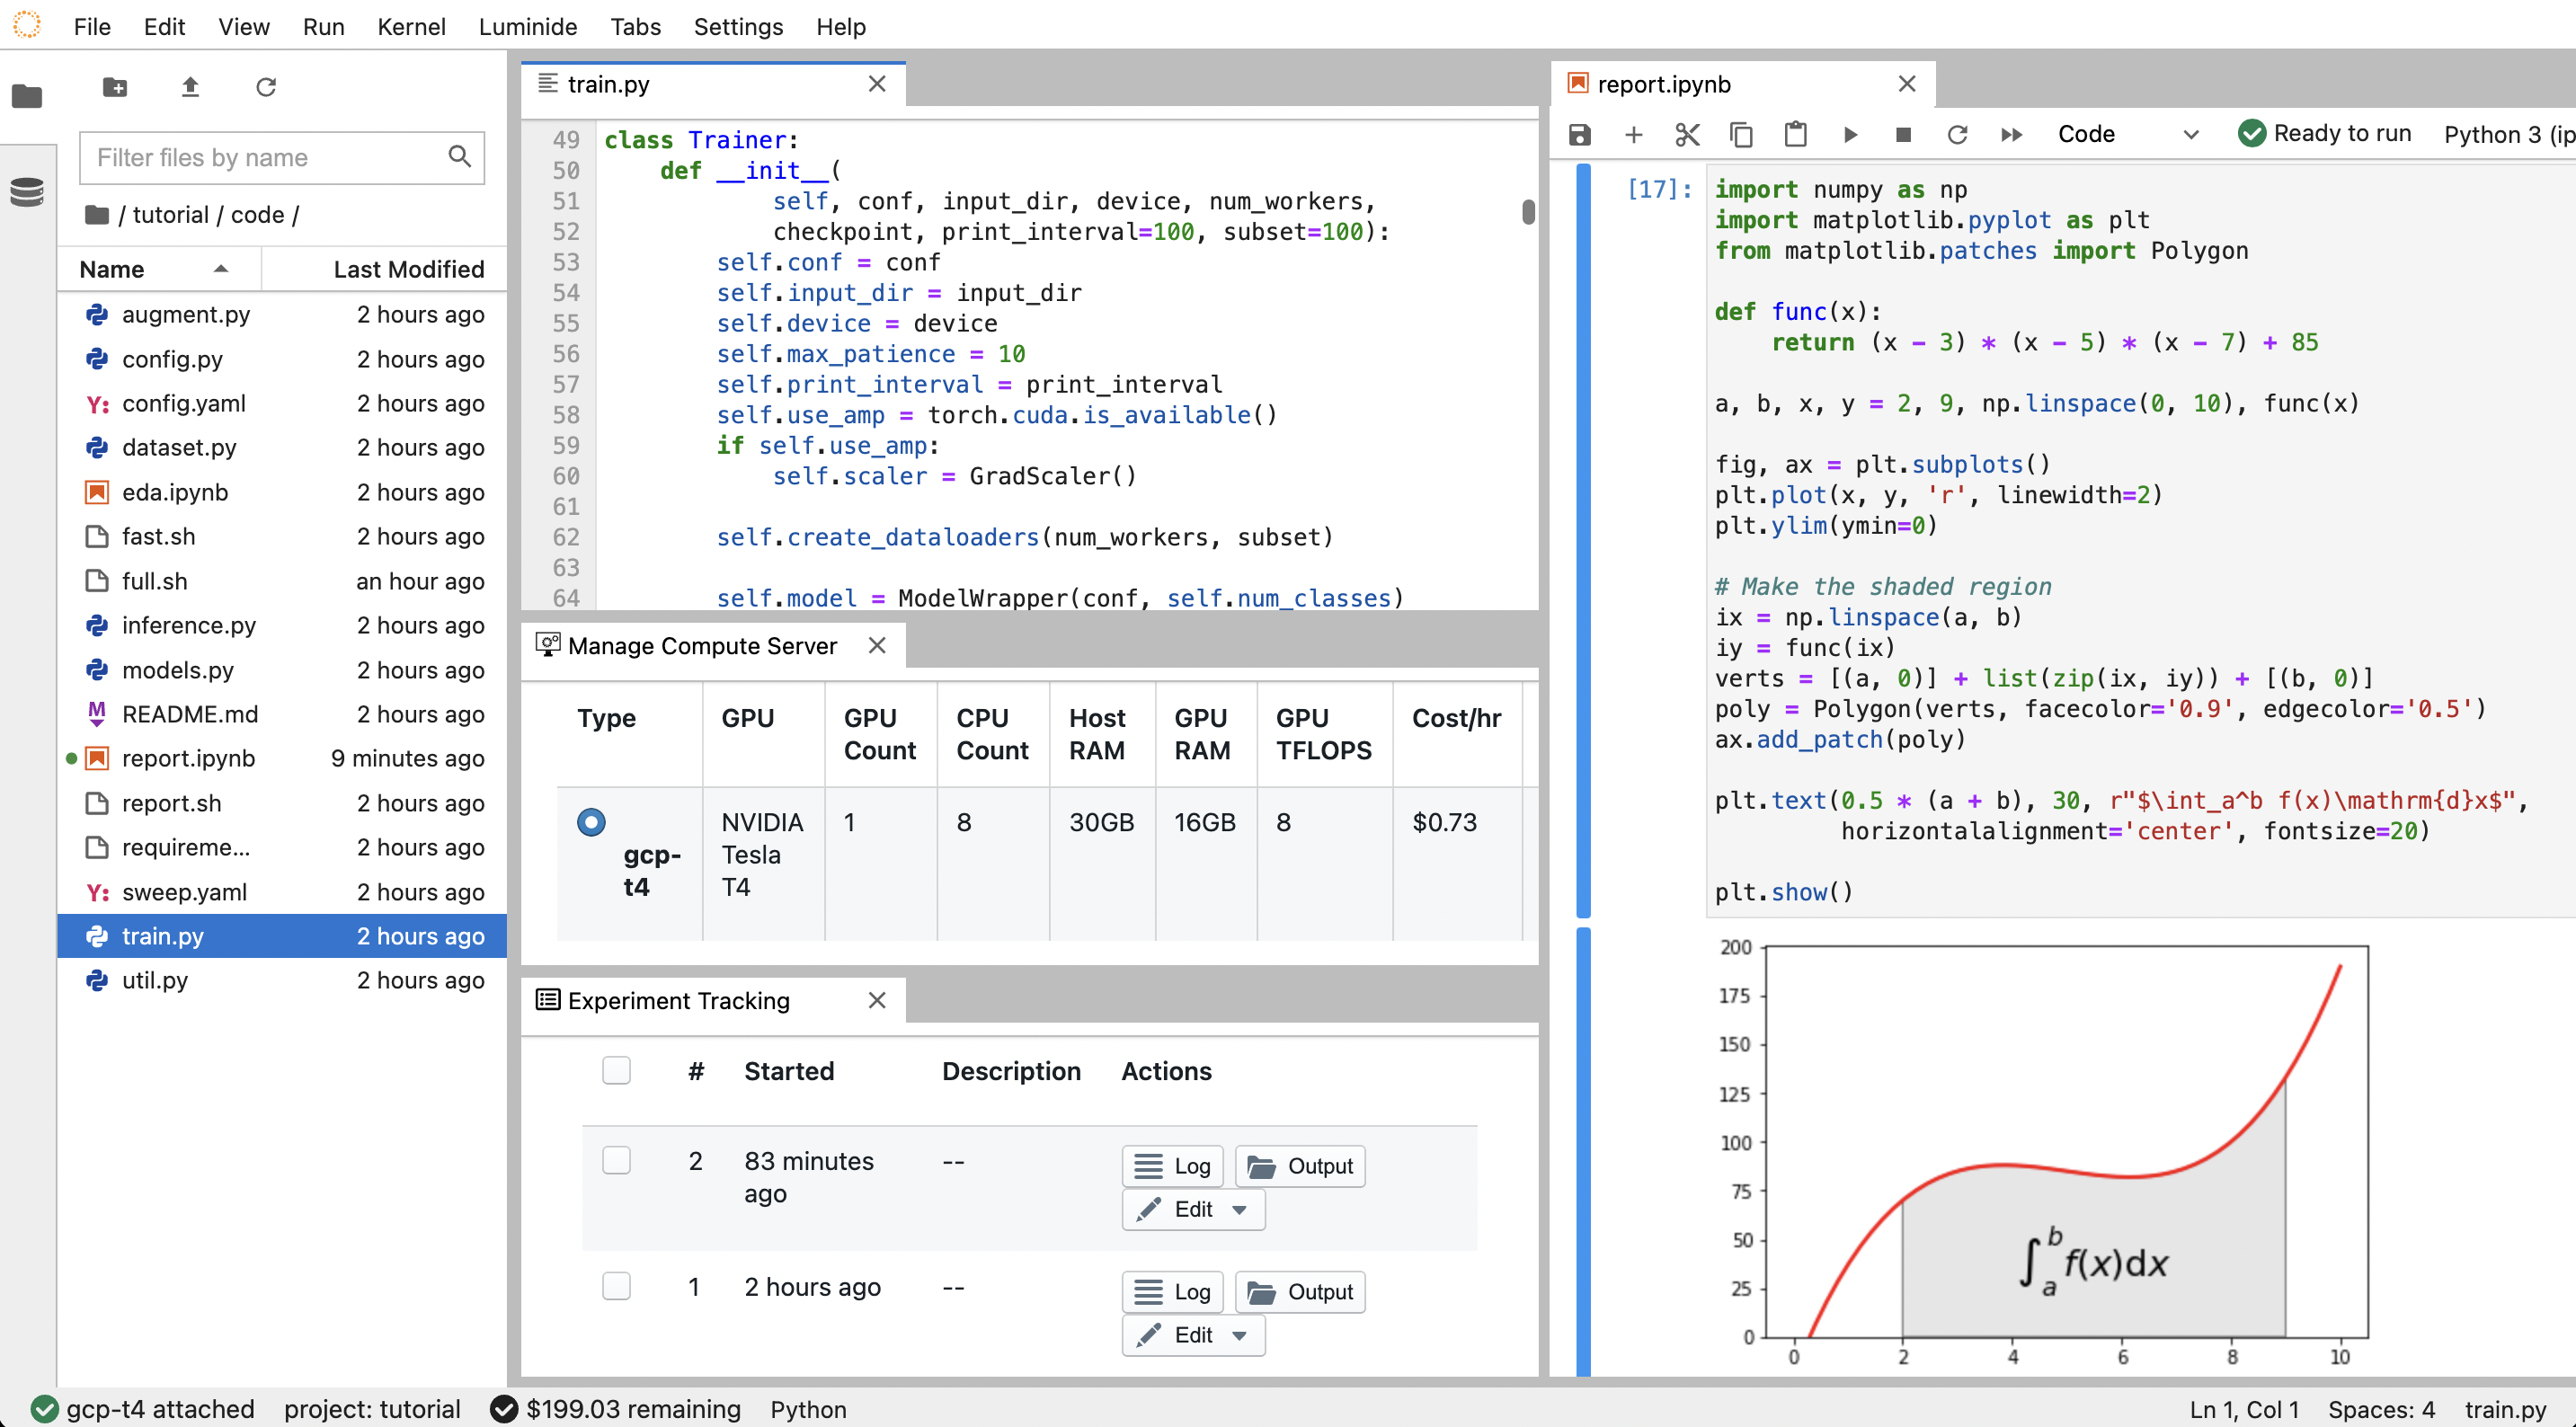
In addition to building on top of Jupyter’s IDE, Luminide leverages other Project Jupyter open-source software such as JupyterLab and JupyterHub. We’d like to give the Jupyter Project and Community a special thanks for building such great products.
Luminide File Structure
To train a model, at a minimum you’ll need some code that trains the model and a script that invokes this code. For an example, see train.py and full.sh in the generic-example repo. You’ll also need the input dataset. The directory structure is expected to be:
IDE Server                                      Compute Server

project                                         project
├── code (source code)                          ├── [source code copy]
├                                               ├── input (dataset)
└── output [working directory copy]             └── output (working directory)
Note that both code/ and input/ are peers of the working directory. This means that if your code wants to access the dataset, the paths must be prefixed with ../input. To access files in the code/ directory, the paths must be prefixed with ../code.
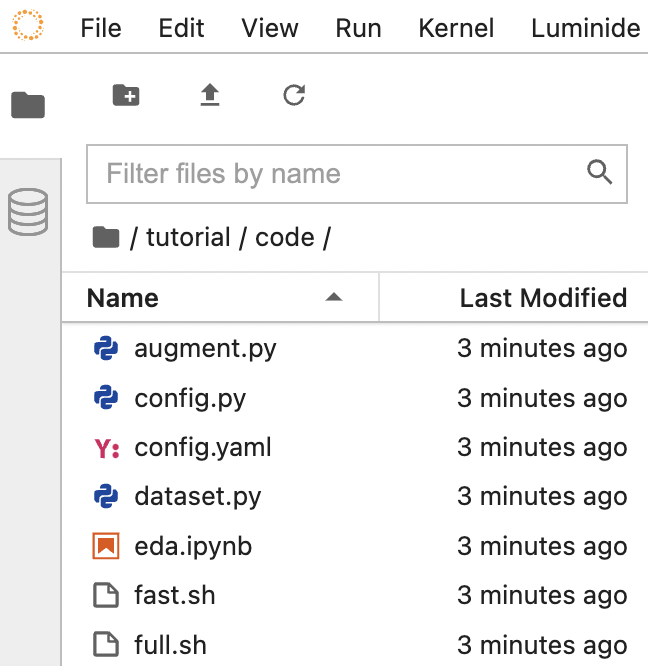
Code File Browser
Code, which is located on the IDE Server, can be browsed using the Code File Browser in the left-hand sidebar (hide browser by clicking on the active icon).
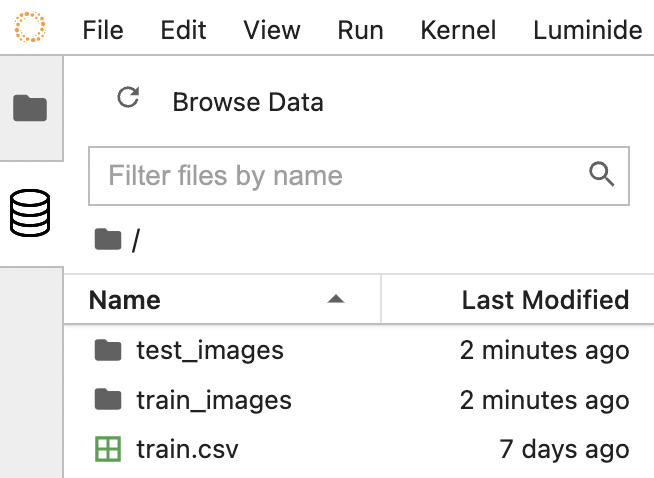
Data File Browser
Data, which is located on the Compute Server, can be browsed using the Data File Browser in the left-hand sidebar (hide data browser by clicking on the active icon):
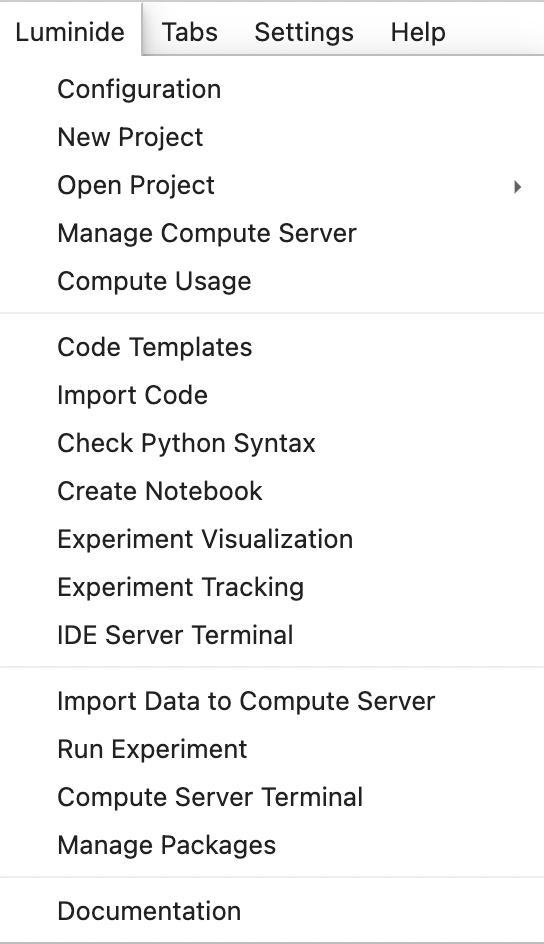
Luminide Menu
Most of the Luminide features are available under the Luminide drop-down menu. For example, to reopen the documentation tab, navigate to the Menu, click on Luminide, and select Documentation:
Menu: Luminide > Documentation
Tutorial
Try out Luminide for yourself by doing our Tutorial.