Code
Code Templates
Luminide contains templates that generate some initial code to get started. This code is placed in the the code/ directory, and includes everything needed to run your experiment – the model, the hyperparameters, and the shell script to launch the experiment.
Menu: Luminide > Code Templates
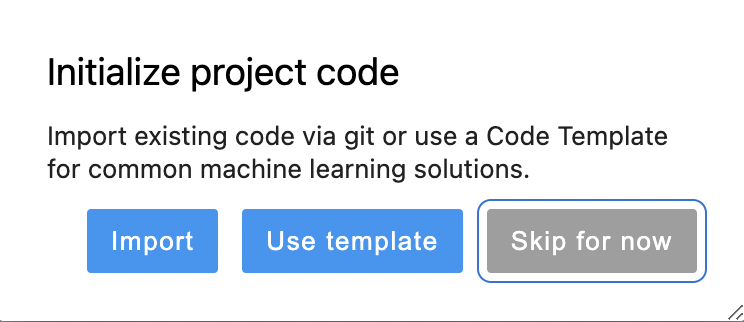
or choose Use Template when a new project is created:
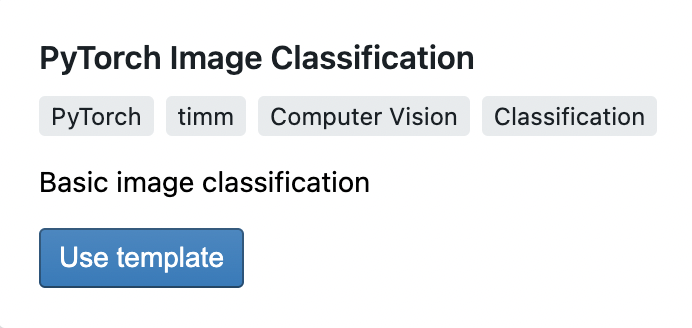
Then select one of the templates, e.g. for PyTorch Image Classification:
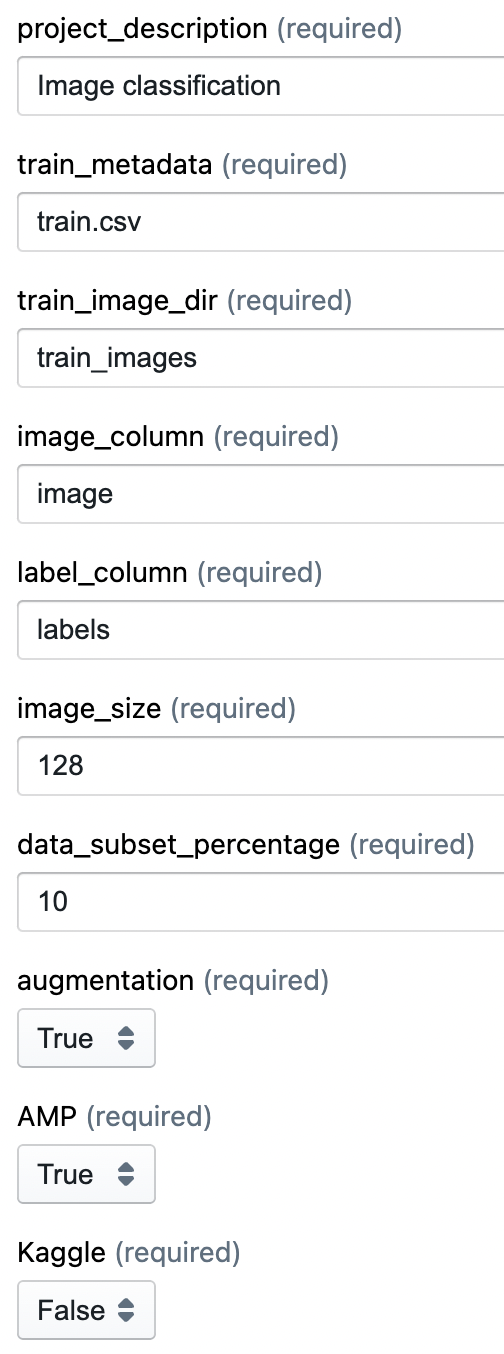
There are a number of parameters you can modify to generate code specific to your problem.
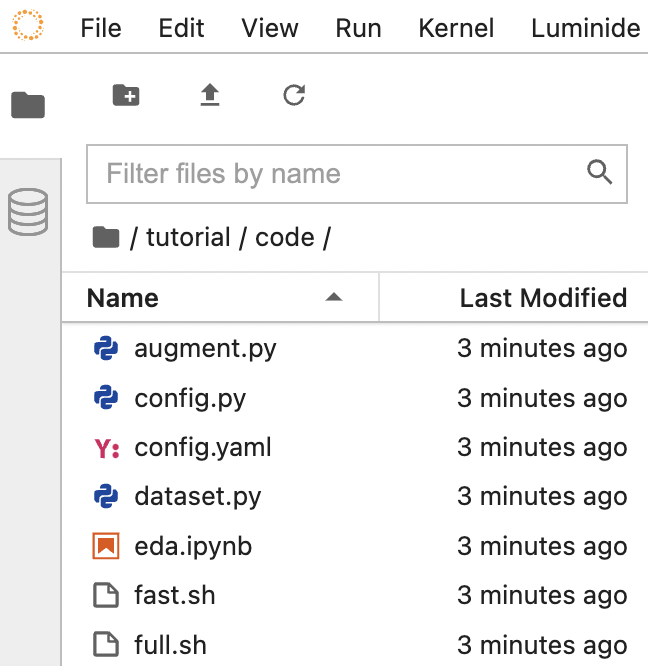
The code is placed in the code directory, and can be browsed using the Code File Browser in the left-hand sidebar (hide code browser by clicking on the active icon):
Import Code
In addition to using Code Templates to generate code, you can also import code from an existing repo:
Menu: Luminide > Import Code
When prompted, input the URL of the git repo. For example, image classification code for the Plant Pathology example we used in the Tutorial is available on the Luminide github account. Instead of using a template to generate code, you could have copied/pasted the following URL into the Import Code tab: https://github.com/luminide/example-generic.
Likewise, the code is imported into the code directory, and can be browsed using the Code File Browser in the left-hand sidebar.