Fast AI Tutorials
Fast.ai is a deep learning library which provides AI practitioners with high-level components that can quickly and easily provide state-of-the-art results in standard deep learning domains.
Read through the fast.ai tutorials to learn how to train your own models on your own datasets. Use the navigation sidebar to look through the fast.ai documentation.
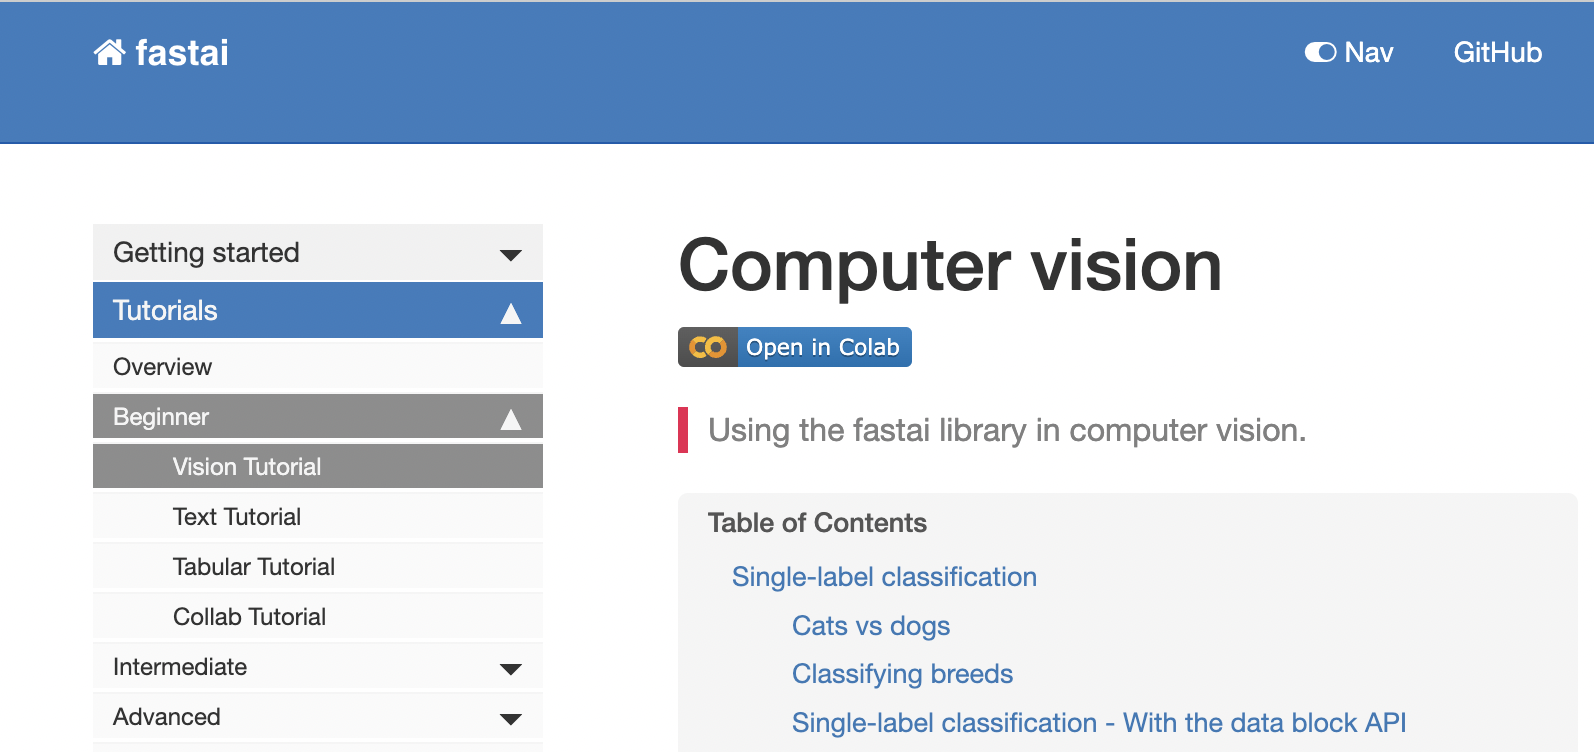
To run fast.ai notebooks on Luminide, just follow the instructions on this page.
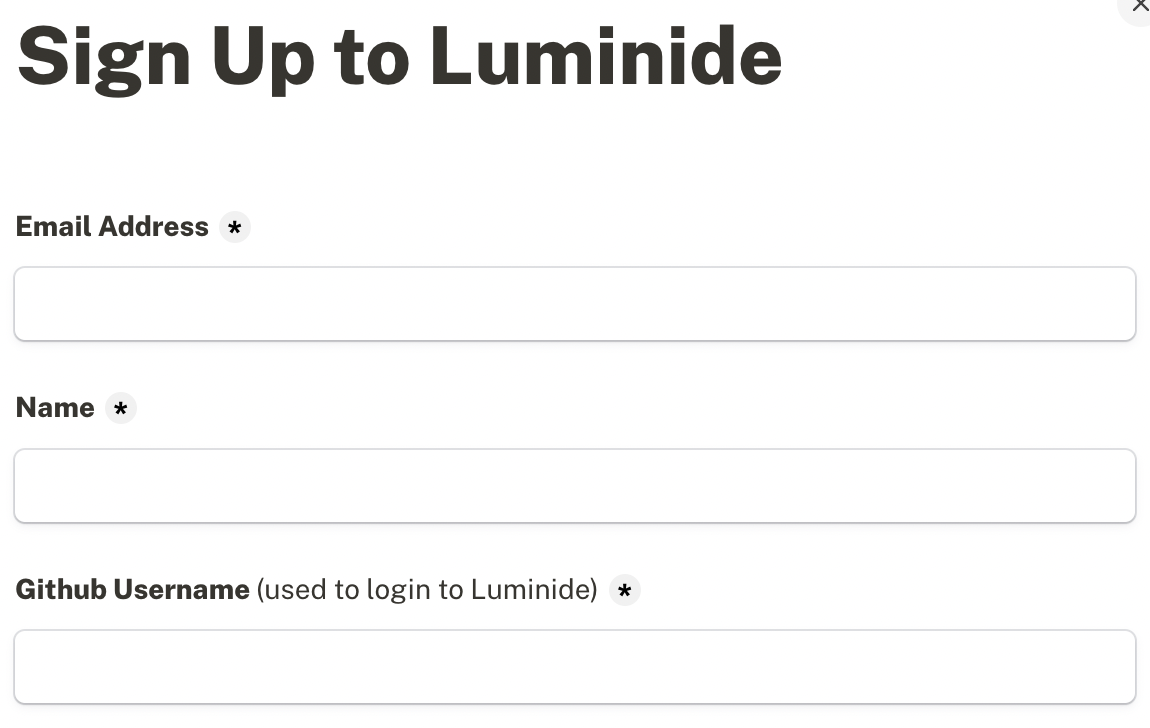
Sign up to Luminide
Visit the Luminide website to sign up and log in:

Import fast.ai notebooks
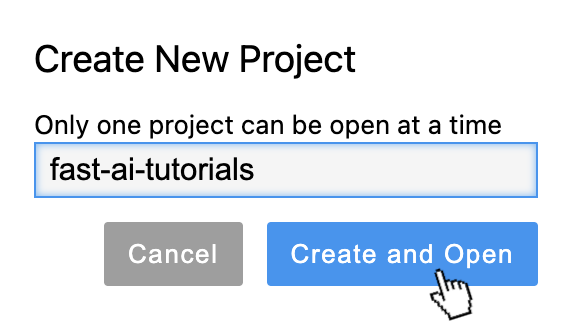
Once you log into Luminide, import the fast.ai tutorials:
Create and Opena new projectInitialize project code by choosing
ImportEnter the URL of the fast.ai git repository:
https://github.com/fastai/fastai.git


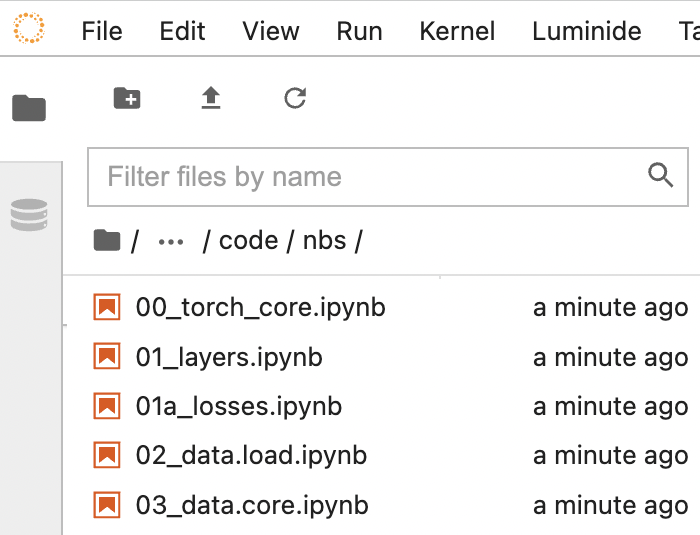
Once the repo finishes importing, use the file browser to navigate to the /nbs directory. Here you will see a list of all of the fast.ai notebooks:
Connect to a cloud GPU
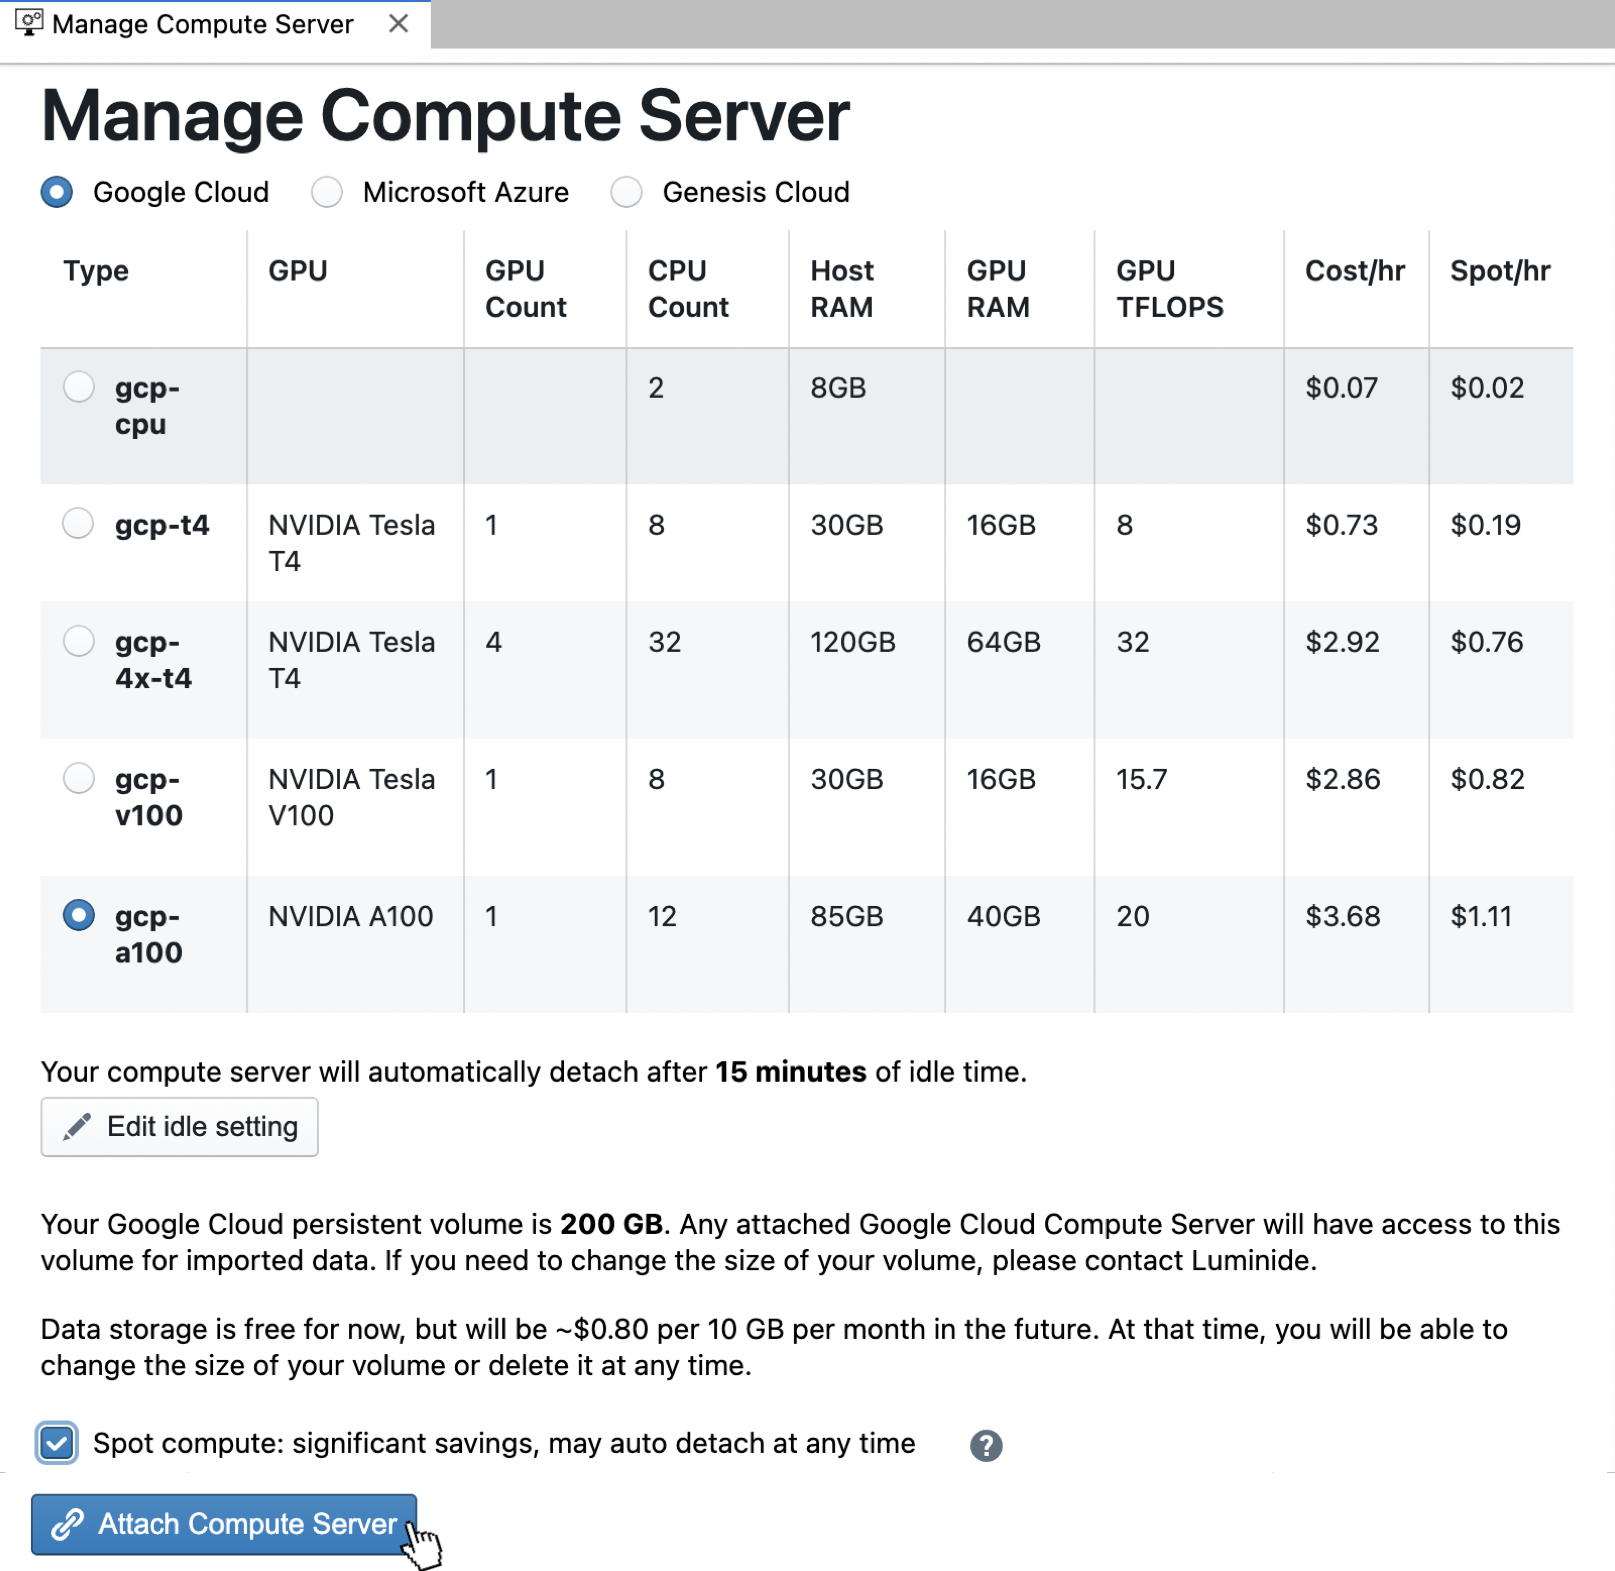
Before executing a notebook, you must first connect to cloud compute server:
Menu:
Luminide > Manage Compute Server(or click on the status bar in the lower-left corner)

Choose the compute server based on performance and price. Select Spot compute for additional savings. For example, a GCP A100 spot compute server will run the entire vision notebook in around 5 minutes and cost about $0.10 (some notebooks take significantly longer, so adjust your idle timeout setting accordingly).
Once you attach to a compute server, be sure to log in and upgrade to the lastest software:
Menu:
Luminide > Compute Server Terminaland run:pip install -U fastai nbdev
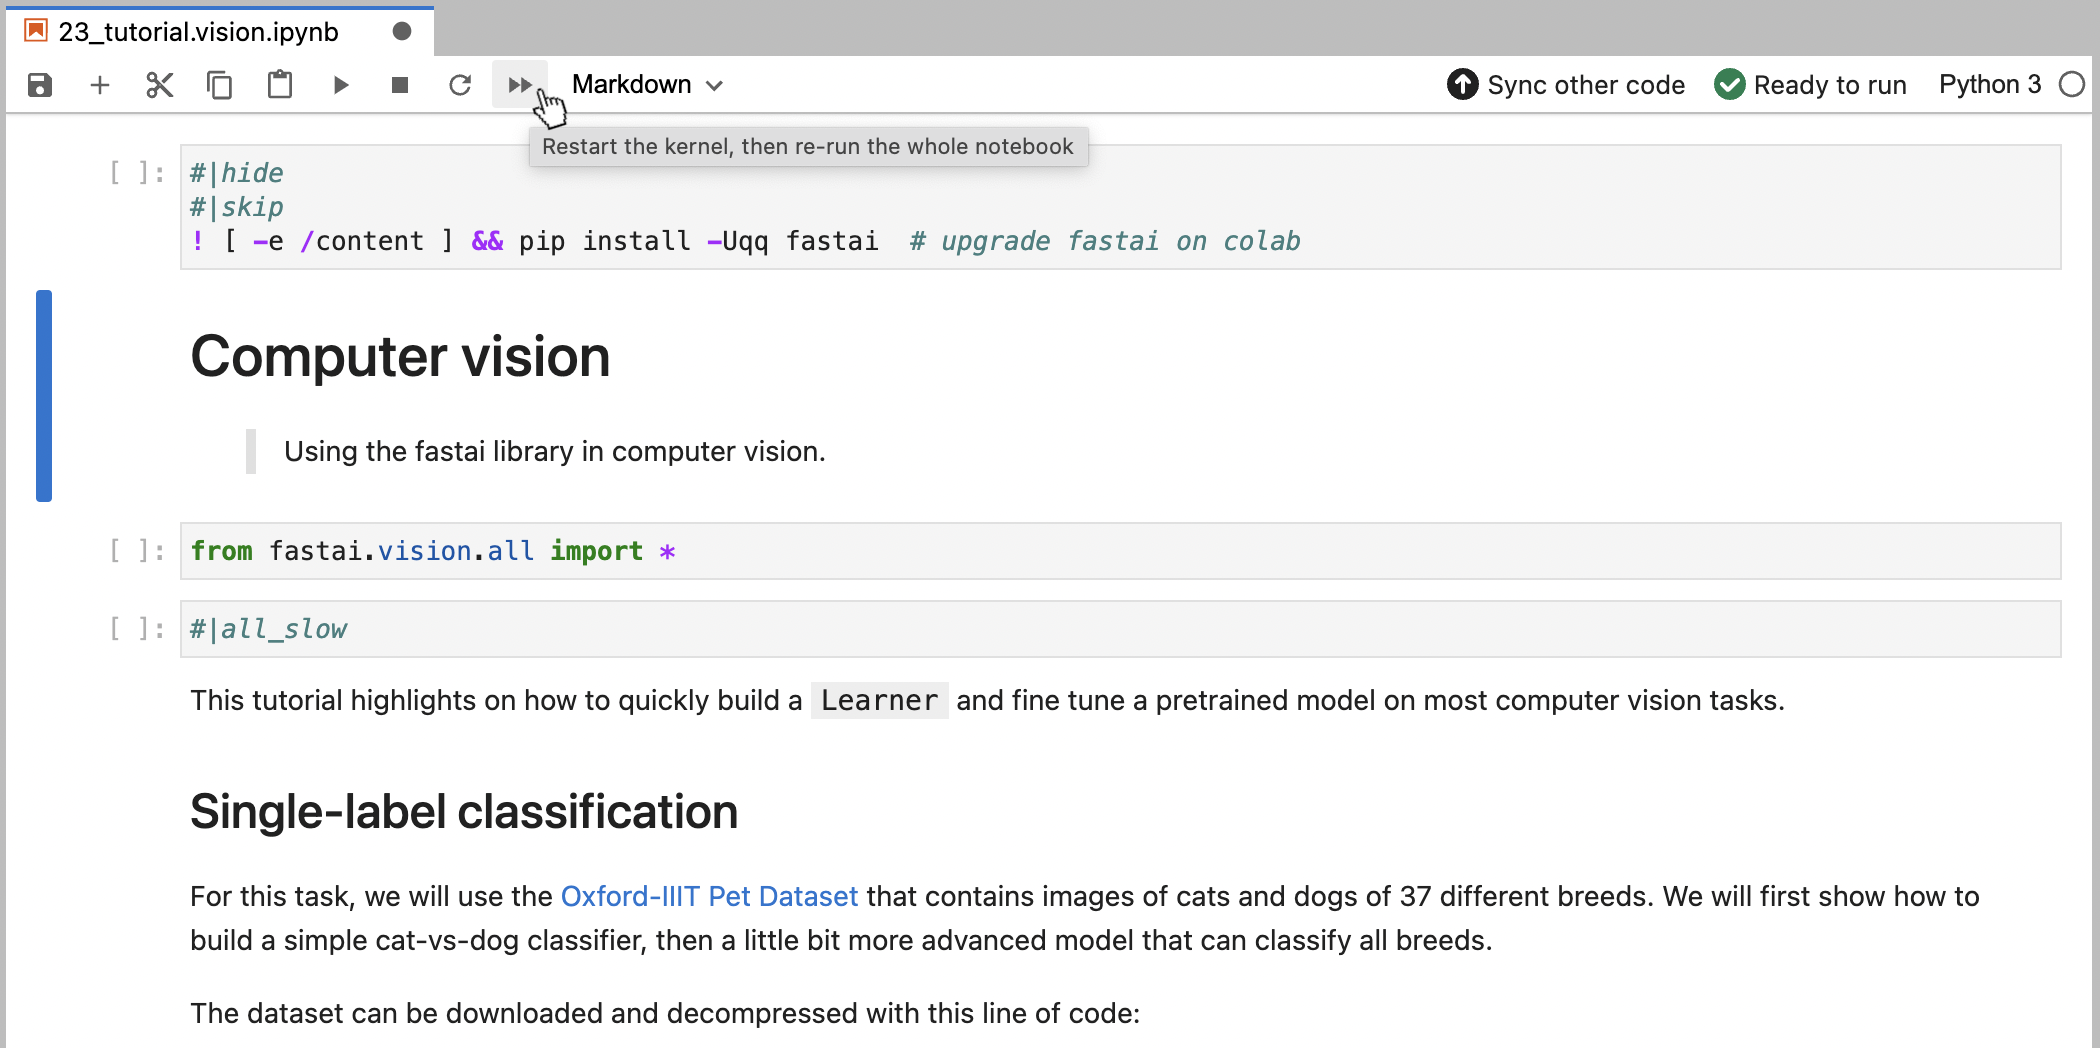
Run a fast.ai notebook
Select a notebook and Run the selected cells or Re-run the whole notebook.
Tutorial and notebook summary
The online fast.ai tutorials correspond to the following files in the fast.ai github repository:
Beginner |
|
|---|---|
Intermediate |
|
Advanced |
|